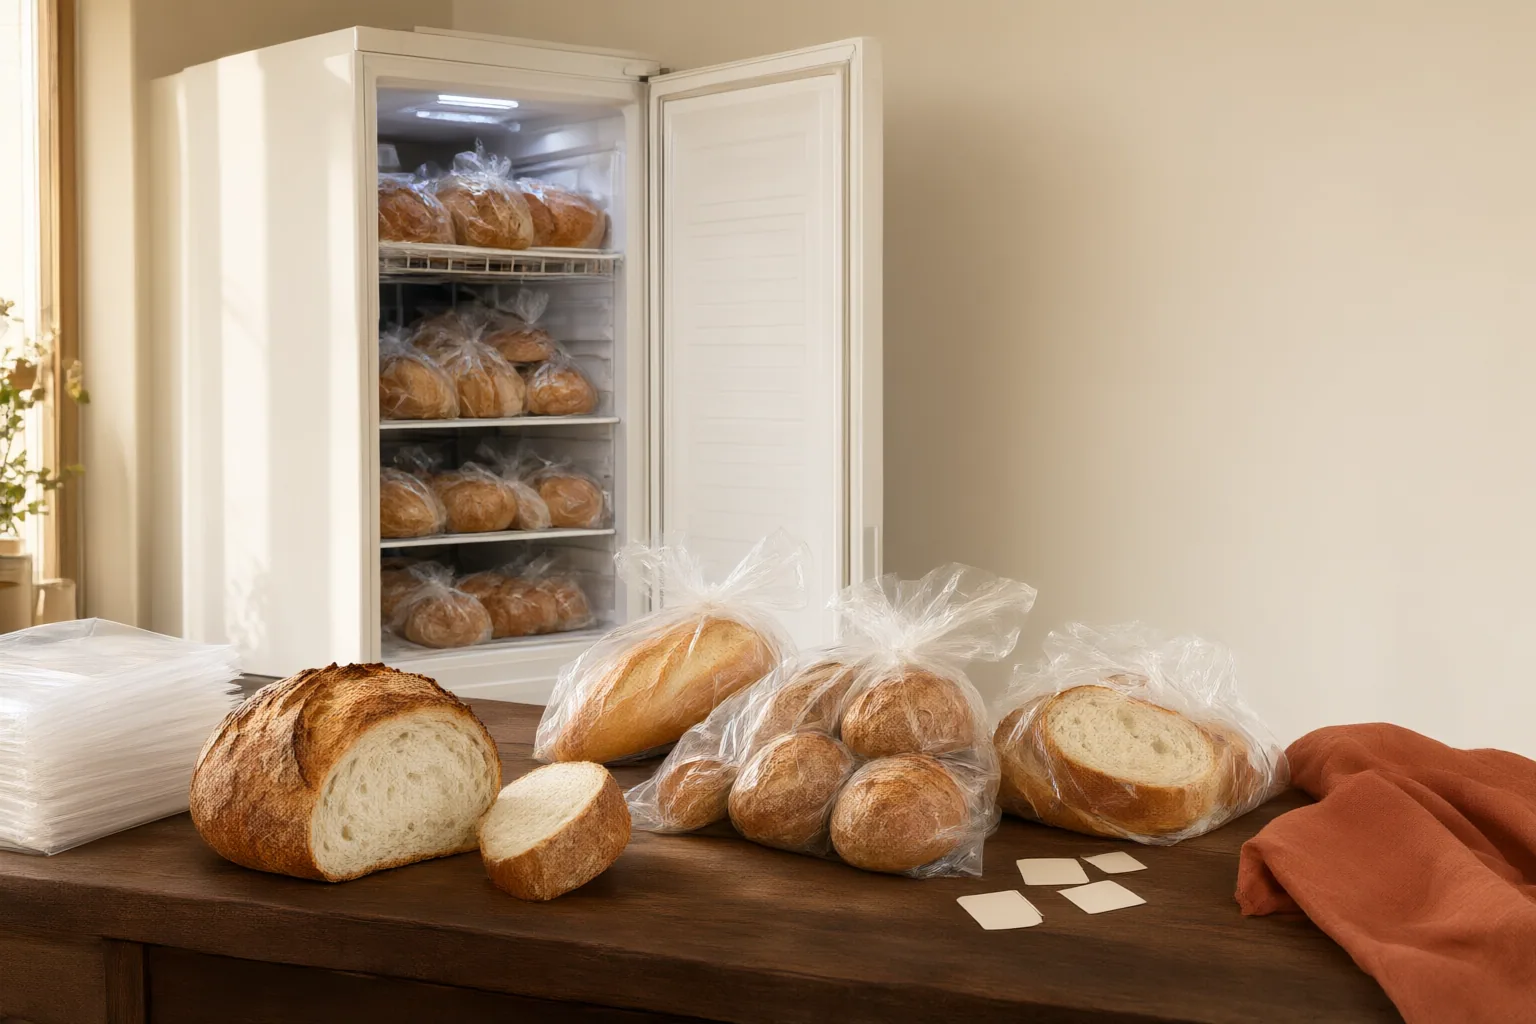
A practical bread freezer inventory starts with fully cooled bread, useful portions, airtight packaging, clear date labels, and a protected storage area. This routine makes individual portions easier to find and helps households manage quality without depending on one universal storage limit.
Build a Portion-by-Portion Freezing Routine
Let bread cool fully before preparing it for the freezer. Freezing warm bread may trap unwanted moisture inside the packaging, while cooling first supports a more orderly packing process.
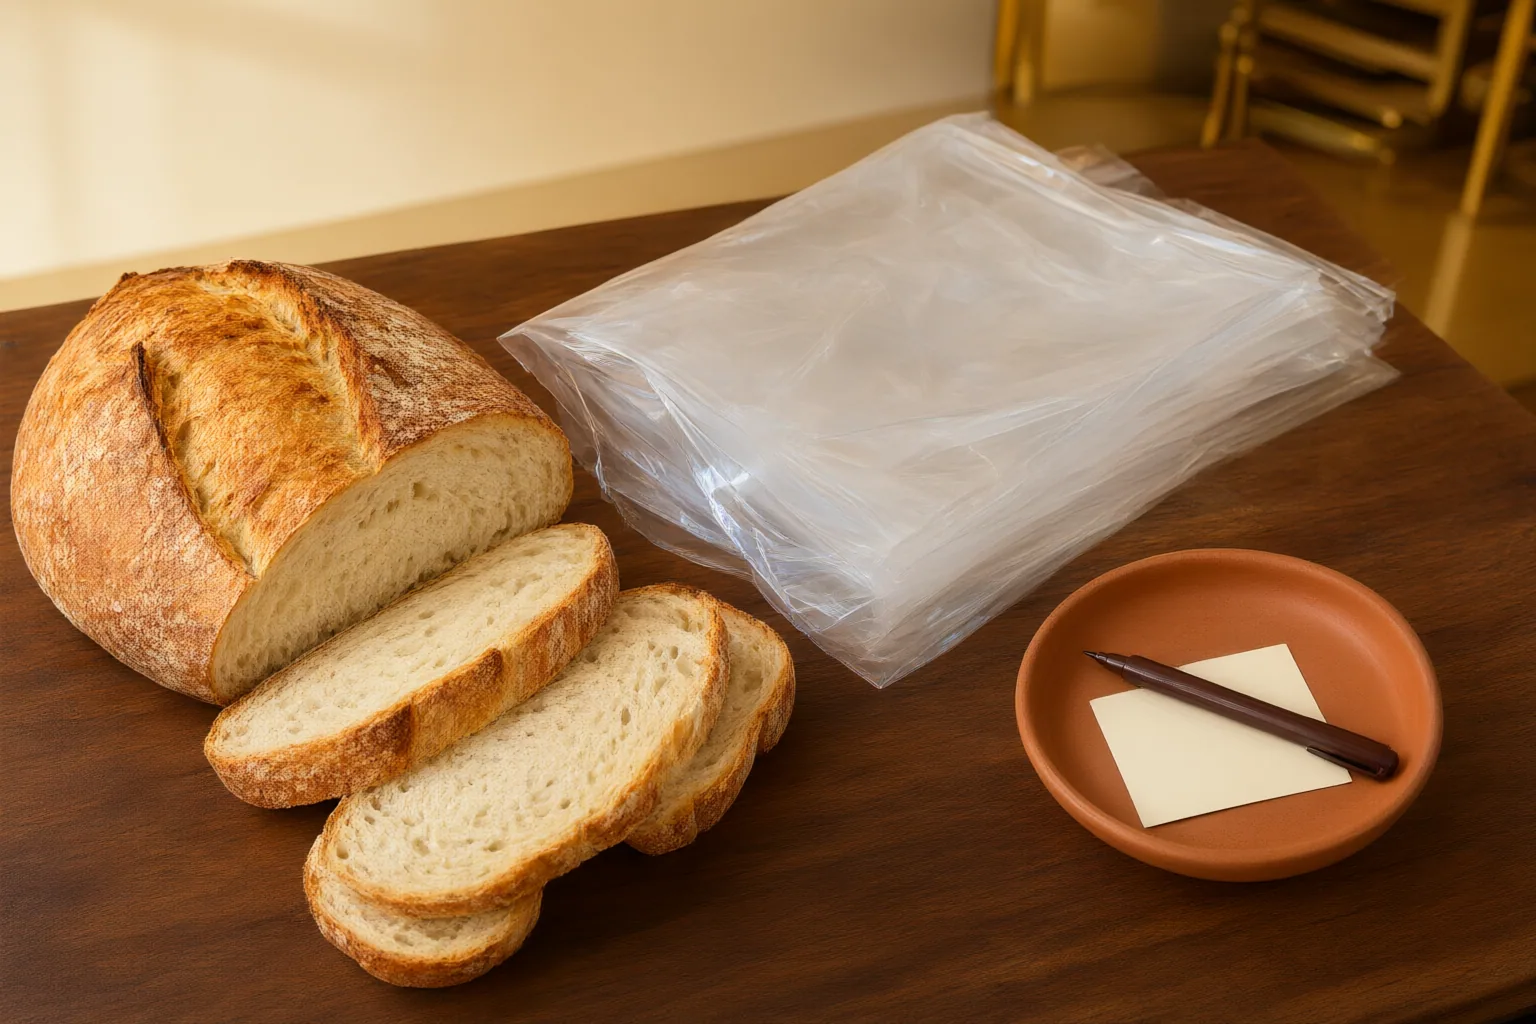
Next, slice the loaf or divide rolls and other bread into amounts that match likely uses. A household might separate single servings, breakfast portions, or enough bread for one shared meal. The useful portion size depends on how the bread will be served; the important point is to avoid freezing everything as one unit when only part may be needed later.
Portioning allows people to retrieve what they need without thawing an entire loaf. It can also reduce the quality loss associated with repeatedly thawing bread. Keep the portions identifiable as they are packed so their contents can be recorded accurately on the label.
Package and Position Bread to Protect Its Quality
Use freezer-safe wrapping or containers that close tightly, then remove as much excess air as practical before sealing. Dry circulating freezer air can contribute to moisture loss, oxidation, dry patches, ice crystals, muted flavor, and poorer texture. CanIFreeze.com therefore emphasizes wrapping quality, rather than the calendar alone, as an important factor in maintaining bread quality.
Delicate loaves and rolls also need protection from pressure. Lifehacker suggests placing delicate bread in the freezer for about 30 minutes without stacking anything on top, then transferring it to a freezer bag. This is a specific editorial suggestion, not a universal requirement, but it may help bread hold its shape before it enters a crowded storage area.
After packing, place bread in a defined freezer section or protective container where heavier items are less likely to crush it. Freezer burn may leave bread pale, dry, or texturally degraded, but the supplied sources distinguish this quality problem from food safety: freezer burn alone does not necessarily mean bread is unsafe. Safety-critical decisions should follow authoritative local guidance.
Date, Record, and Rotate the Inventory
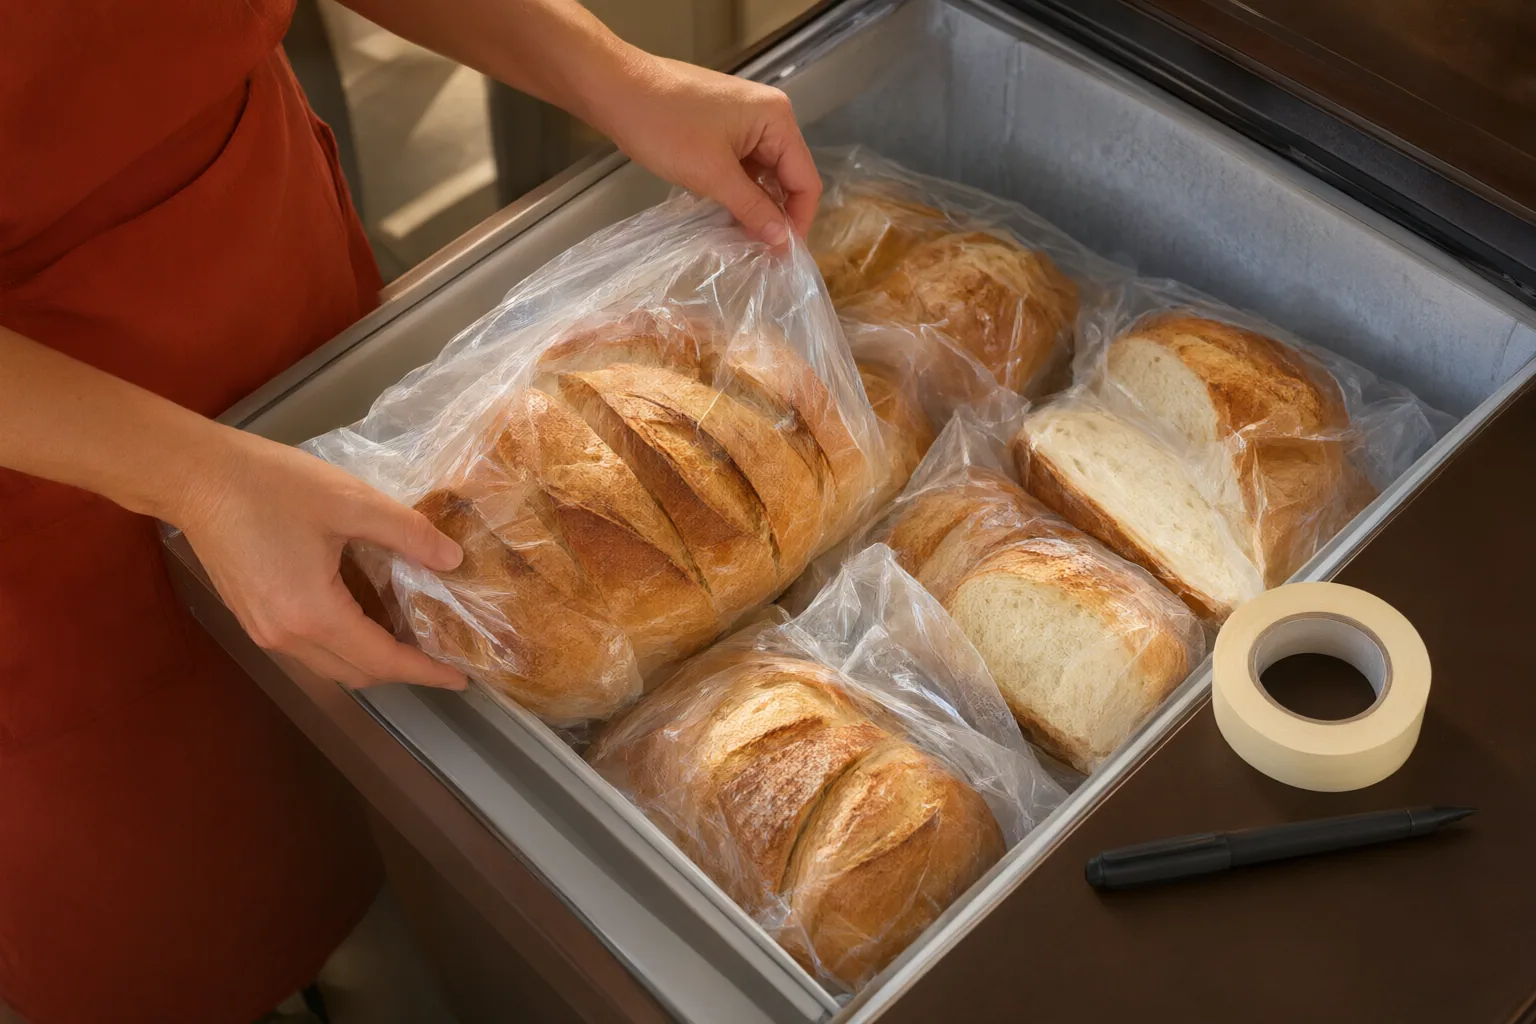
Label every package when it enters the freezer. At minimum, write the freezing date and a short description of the portion, such as sliced loaf, two rolls, or one meal portion. If storage instructions are available for that bread, record them on the package or in a simple inventory list instead of relying on memory.
Keep the list practical. One line per package can include its identity, freezing date, portion quantity, and available storage directions. When removing bread, update or cross out the entry. Place newer packages behind older ones so earlier portions remain visible and are more likely to be used first.
A defined bread area, bin, or container can make this rotation easier while protecting softer packages from crushing. Arrange labels so they can be read without unpacking the entire section. These small steps help prevent forgotten portions and decisions based on guesses.
Avoid treating one duration as correct for every package. Suitable storage time varies with the type of bread, wrapping method, freezer conditions, and intended use. The date is therefore a tracking tool, not a guarantee that quality remains unchanged until a single universal deadline. Check the package condition and consult authoritative local guidance when a decision involves safety.
Conclusion
A workable inventory routine is straightforward: cool the bread, divide it into useful portions, wrap it securely, remove excess air, apply a date label, record any available instructions, and rotate packages in a protected freezer area. Because bread type, packaging, and freezer conditions differ, use dates to support organized decisions rather than assuming one storage duration fits everything. Start today with one loaf or batch: portion it, package and date each part, note its available instructions, and place it where it will remain visible and protected.
Disclosures and limitations
- This article was prepared with AI assistance from the supplied secondary editorial sources; safety-critical storage guidance should be verified with authoritative local sources.
- No products or affiliate offers are recommended, and no product-specific ingredients, prices, availability, or storage instructions were supplied.
Related reading
- Our Story: Bread for Everyday Moments
- How to Verify Kampoeng Roti Store Hours Before Making a Trip in Indonesia
Sources
- How to Store Bread for Freshness — Science-Backed Methods — TheLivingLook
- Can you freeze Bread? – Freezing Guide: Safe Freeze, Thaw & Storage | CanIFreeze.com — CanIFreeze.com
- The Best Ways to Freeze Breads and Dinner Rolls Before Thanksgiving — Lifehacker
- How Long Does Bread Last in a Freezer? Practical Storage Guide — TheLivingLook
- Best Way to Store Fresh Bread: Practical Storage Guide for Home Bakers — TheLivingLook